Origami Bats

Written By Savvy Auntie Staff Writers
By Alicia Kachmar
Whip up some simple origami bats from black construction paper! This basic little Halloween decoration, if made a few times, can also be turned into a nifty “bat mobile” by adding some fishing line to the back and hanging them up.
Supplies
Black paper, origami or construction
scissors
white chalk/pencil
fishing line (optional)
Instructions
1. If it's not already a square, cut the paper into a square. If using construction paper, holding it horizontally, fold one corner down until it meets the bottom edge of the paper. Fold and cut along the straight edge.
2. With the straight edge at the top, fold down the top two inches.
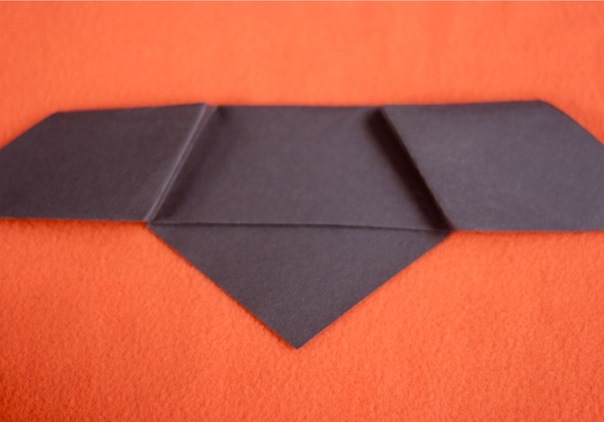
3. Fold each side flap across the body of the bat so that the wing lines up with the bottom part of the body.

4. Fold back each side flap parallel to the fold you just made, 1/4 inch closer to the center of the body so that the wings look three-dimensional.
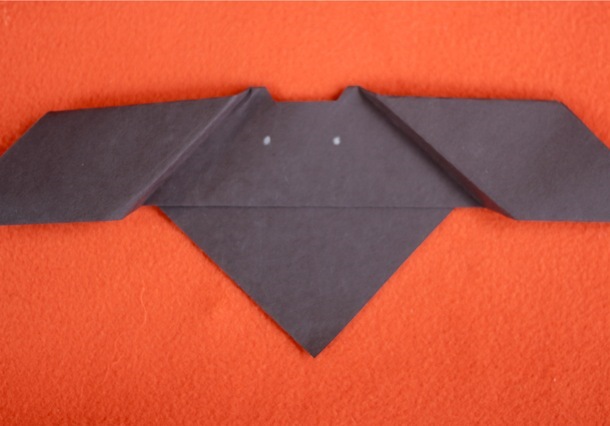
5. To make little bat ears, cut a 1/4 inch high trapezoid along the top, between where the wings start.

6. Flip the bat over and draw on a face with chalk or white pencil, if desired.
7. Optional mobile: Make a small hole in the back of the bat. To string with fishing line, cut a 10-inch piece and thread it through, tying it off.
Alicia Kachmar is a New York City and Pittsburgh-based writer, crafter, artist, adventure-seeker and whatever other -er she feels like being that day. She is the co-author of "Witch Craft: Wicked Accessories, Creepy-Cute Toys, Magical Treats, And More!"